Code coverage with SonarQube
Internal reference: topics/06-3.md
Introduction
SonarQube is a Java-based open-source code coverage tool. Beside running code coverage, it allows static code analysis to evaluate the reliability and security of a program. With SonarQube, development teams may use fully customizable reports and a dashboard to show the quality of the code in their apps.
This program can analyze the static code of more than 25 languages, including PHP: Hypertext Preprocessor (PHP), Java,.NET, JavaScript, Python, and others. For a complete list, go to the SonarQube docs.
SonarQube also provides code analysis for security issues, code smells, and code duplication, as well as code coverage for unit tests.
Constraints of SonarQube
As a reminder: Test coverage statistics and test execution reports will show you how much of your code is covered by your test cases.
SonarQube cannot determine coverage by itself. Set up of a third-party coverage tool is therefore required in order to import data into SonarQube. The right SonarScanner configuration is required in order to integrate code analysis into your build procedure.
Getting started
The following procedure describes steps to set up SonarQube code coverage using JavaScript As prerequisites you should have the following components installed on your system:
- NodeJS
- Docker
- A text editor or IDE
Step 1: Download and start SonarQube
SonarQube must be run on servers or virtual machines because it is an on-premise solution (VMs). Without having to explicitly configure the server on your system, starting up an instance can be replaced by installing a Docker container from the Sonar image.
docker pull sonarqube:latest
docker run -d --name sonarqube -p 9000:9000 sonarqube:latest
Once your instance is up and running, you can log in and access the sonarqube instance from your local browser through http://localhost:9000 using System Administrator default credentials.
login: admin
password: admin
Step 2: Create a new project
- As Project type select
Create a local Project - Then set
Project display name and keyand themain branch name (default: main). - Hit the button
Next - Select
Follows the instance's default - Hit the button
Create project
Step 3: Analysis method
- As analysis method select
Locally - Generate the
Token name(Expiration in 30 days is ok) - Save the generated token and handle it as password.
- Hit the button
Continue - Run analysis on your project:
Other→Linux
Step 4: Download and unzip the scanner
- Download the scanner for your platform.

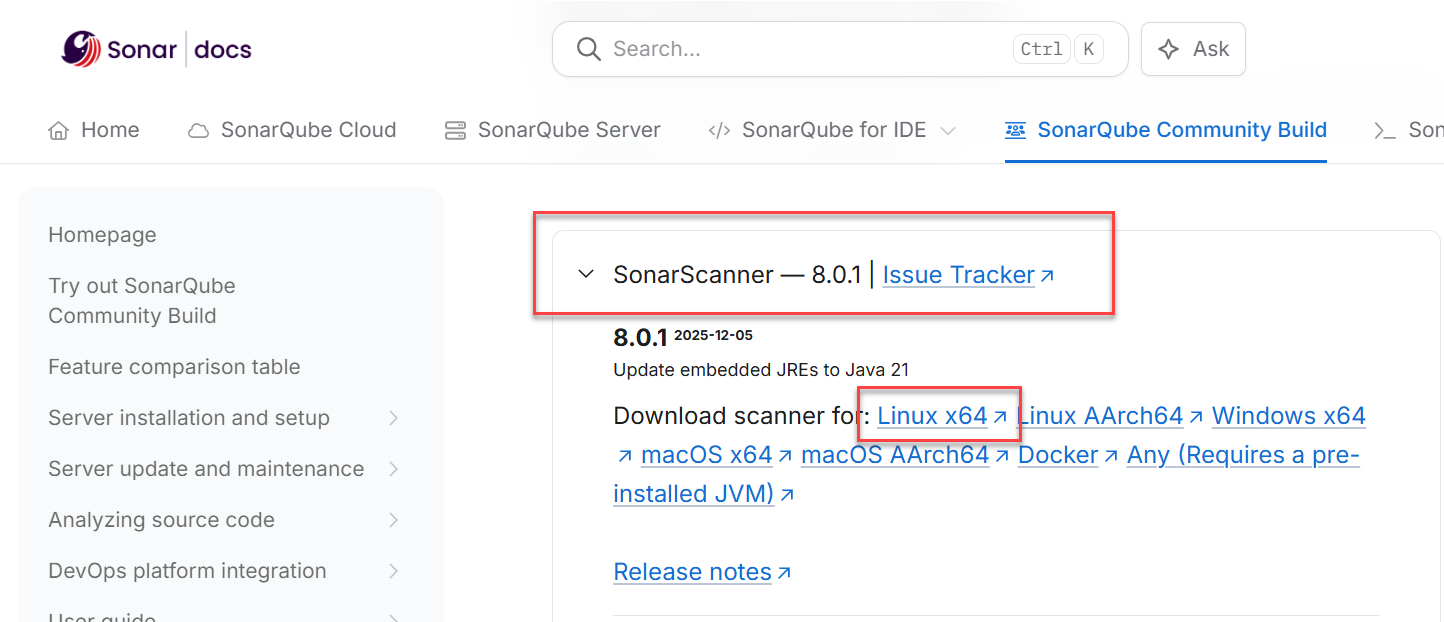
- Unzip it either in your project directory or in your binary-directory.
Example for Linux on AWS EC2
wget -N https://binaries.sonarsource.com/<whatever-path>/sonar-scanner-cli-<whatever-version>-linux-x64.zip
sudo apt install unzip
unzip -o sonar-scanner-cli-<whatever-version>-linux-x64.zip
- Add the
bindirectory of the unzipped folder in yourPATHvariable and check with commandwhereis. Example:
whereis sonar-scanner
sonar-scanner: /home/ubuntu/sonar/bin/sonar-scanner
- Check before running code coverage that your target app (i.e. traffic light api) has the following node package are installed.
dependencies: {
    ...
    @types/jest: ^29.5.11,
    jest: ^29.7.0,
    jest-sonar-reporter: ^2.0.0,
    sonarqube-scanner: ^4.2.6,
    supertest: ^6.3.3
}
- Create in your project folder a file
sonar-project.properties. Here you can store your settings, especially project-key, source-path, SonarQube host url and token. In the example the code source is in directorysrcand unit tests are on the same directory level in directorytests.
#SonarQube configuration for server connection
sonar.projectKey=??
sonar.host.url=http://localhost:9000
sonar.token=??
sonar.sources=??
sonar.exclusions=
sonar.test=tests
sonar.language=javascript
sonar.scm.disabled=true
sonar.test.inclusions=tests/*.test.js
sonar.javascript.coveragePlugin=lcov
sonar.javascript.lcov.reportPaths=./coverage/lcov.info
sonar.testExecutionReportPaths=./coverage/test-reporter.xml
sonar.sourceEnconding=UTF-8
Step 5: Run the tests
- On Linux: Install jest with
sudo npm i jest-cli -g - Run first the code coverage with jest.
jest --coverage --coverageDirectory='coverage' --collectCoverageFrom='src/**/*.js'
- Execute the scanner as shown.
#!/usr/bin/bash
# Attention:
# Change CRLF (Windows) to LF (Unix on AWS) in your Editor
#
sonar-scanner \
  -Dsonar.projectKey=<YOUR-PROJECT-KEY> \
  -Dsonar.sources=. \
  -Dsonar.host.url=<YOUR-HOST-URL> \
  -Dsonar.token=<YOUR-TOKEN> \
  -Dproject.settings=./sonar-project.properties
- Analyse the generated report in SonarQube

Source: https://www.aviator.co/blog/implementing-sonarqube-code-coverage-in-a-simple-javascript-application/.
 Daniel Garavaldi